13 Dec 2023 Automating Power BI Backups
As we all know, Power BI is a powerful business intelligence tool that many organisations rely on for data analysis and visualisation.
However, as with any technology, there is always the risk of something going wrong, such as data corruption or accidental deletion. That’s why it’s crucial to have a reliable backup strategy in place, and one way to back up Power BI reports is through PowerShell scripting.
PowerShell is a command-line shell and scripting language used to automate tasks and manage systems. By leveraging PowerShell, you can automate the process of exporting Power BI reports to a backup file, which can then be stored in a secure location.
Technical Explanation
1. Install the Power BI PowerShell Module
To get started you will need to install the Power BI PowerShell module – make sure you run the ISE as an Administrator:
Install-Module -Name MicrosoftPowerBIMgmt
Once installed, a set of cmdlets will be available for you to use in the ISE. We’ll only be using some of them today, but if you want to see the complete list you can check it out here.
Install-Module -Name MicrosoftPowerBIMgmt
2. Log into Your Power BI Service
To start looking at data about our tenant, we first need to log into our Power BI account with the following cmdlets:
Connect-PowerBIServiceAccount

Login-PowerBIServiceAccount

Login-PowerBI
Each of these cmdlets performs the same action: opening a classic pop-up login authentication screen. We’ll explore how to bypass this pop-up when we discuss automation later.
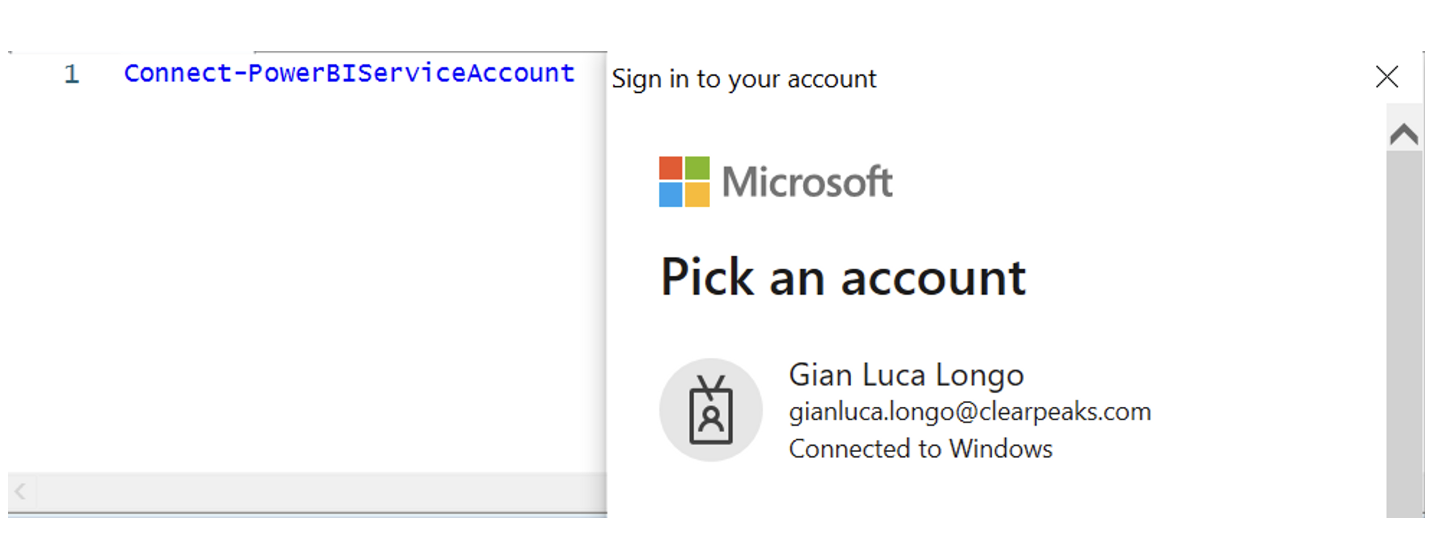 Figure 1: Microsoft Pop-up Login Screen
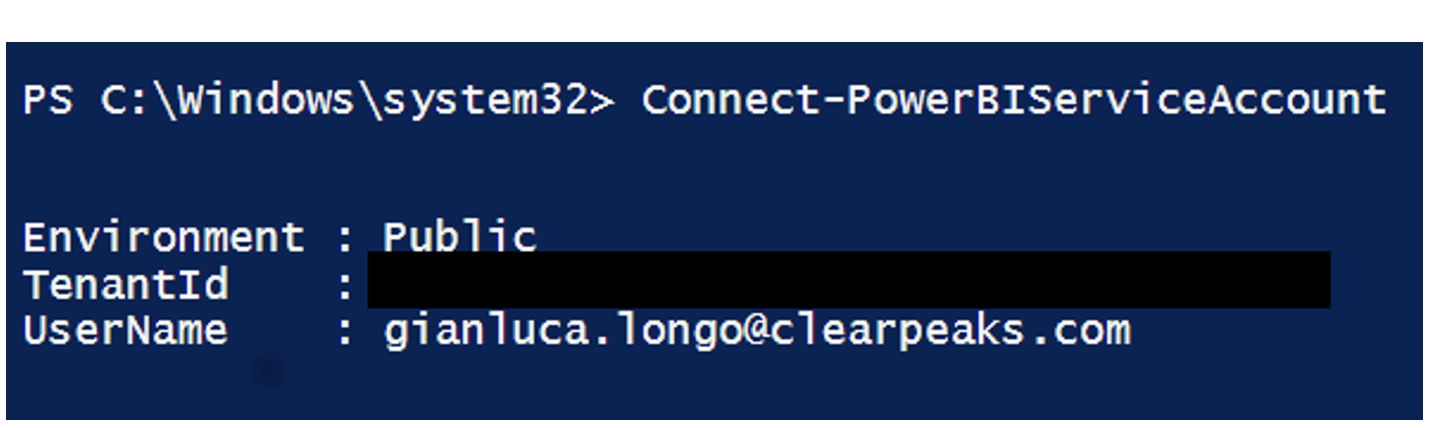
Figure 2: The connect cmdlet response
Remember that the cmdlets will operate within the scope of the user account used to log in, so if the user has a ‘Viewer’ role in every workspace, they will not be able to download anything.
3. Exploring Your Tenant
Once connected, we can start exploring our tenant by getting the capacity (if there’s any), workspaces, dashboards, dataflows, and so on.
We can also perform administrative tasks like granting or revoking access to a workspace, creating a workspace, as well as some development tasks such as creating a dataset.
None of this will be looked at in detail in this blog, but you can find all the information you may need here.
Now let’s start exploring this set of cmdlets:
Get-PowerBIWorkspace

Get-PowerBIReport
If executed alone, they will return every workspace or report visible to the user who’s accessing the service. However, these functions also have additional parameters that can be specified if we wish to view a specific workspace or report.
For this use case we’ll be using the CP Demo workspace:
Get-PowerBIWorkspace -Name 'CP Demo'

Get-PowerBIReport -WorkspaceId 'a78b72c1-..'
If we execute as above, the first line of code will return the internal WorkspaceId and other metadata generated for the workspace. The second line will retrieve all the reports that reside in that workspace and its internal ReportId, name, DatasetId, etc.
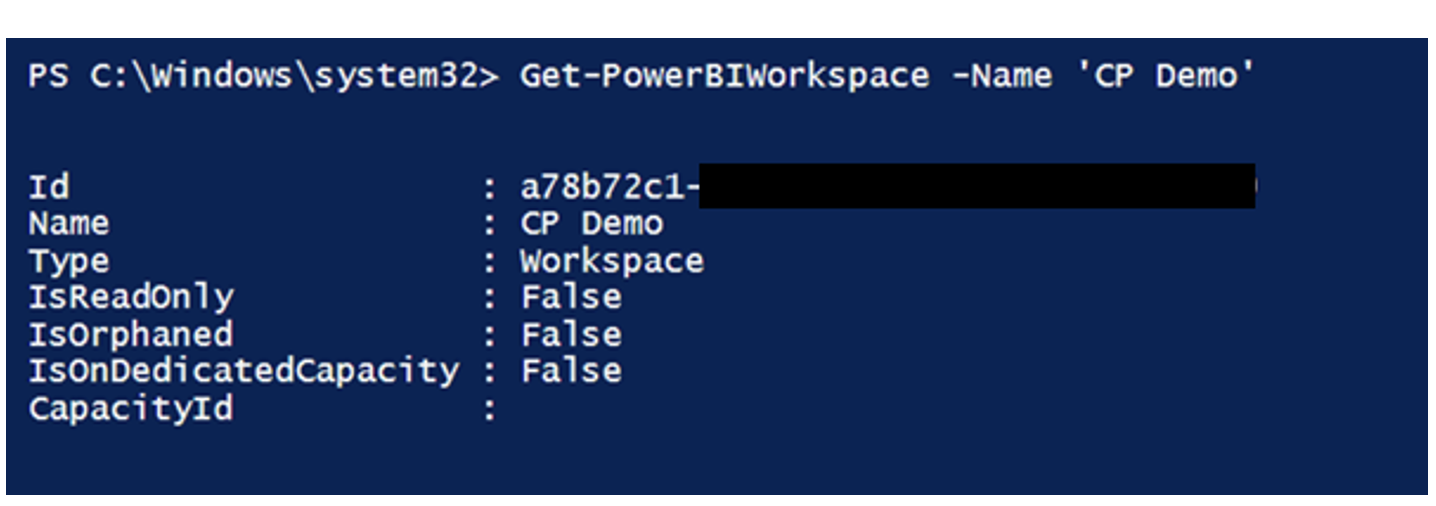
Figure 3: Response of the Get-PowerBIWorkspace filtered by Name
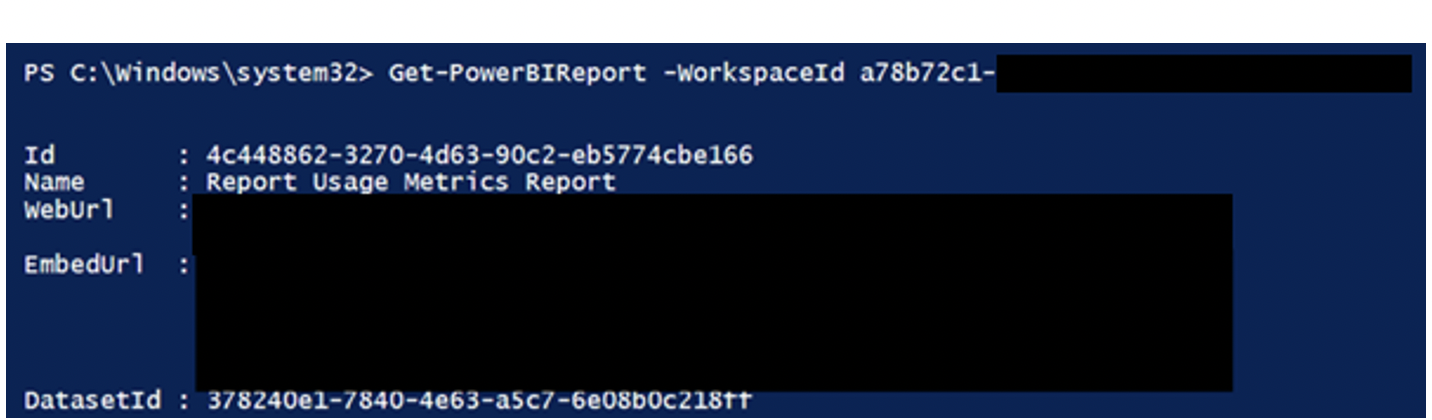
Figure 3.1: Response of the Get-PowerBIWorkspace filtered by Id
Lastly, there’s the Export function to download the reports to a secure folder:
Export-PowerBIReport
This cmdlet, when executed by itself, will prompt us for the ID of the report we wish to download. Additionally, it has several parameters that are better specified, such as ReportId, WorkspaceId and OutFile, to determine the download location, and we also need to specify the format in which we wish to download the report, most commonly .pbix.
4. Consolidating the Script
Now that we know the main commands we’ll be using, it’s time to combine them with some simple shell scripting including variables and for-each loops. This will also be useful for debugging and seeing when a report couldn’t be exported:
$workspace = Get-PowerBIWorkspace

# Loop through every workspace
Foreach($j in $workspace) {


    # Creates a path for every looped workspace
    New-Item -Path "C:\\PBIBackups\\" -Name $j.Name -ItemType "directory"

    #Stores in a variable the reports inside the workspace
    $report = Get-PowerBIReport -Workspace $j

    #Loops through every report into the workspace
    Foreach ($i in $report) {

    $name = "C:\\PBIBackups\\"+$j.Name+"\\"+$i.Name+".pbix"
#In this step, we should add the format of the file, commonly .pbix

				#Checks if the report exists in the folder and deletes it (It will download it again in next step)

        If(Test-Path $name) {
            Remove-Item $name
            Write-Host $name - "Item removed correctly"}

        #Exports the .pbix file
        Export-PowerBIReport -Id $i.Id -OutFile $name

        #Prompts the name of the report to check if it's downloaded correctly
        Write-Host $i.Name - "Downloaded correctly"

	   }
   }
Automation
To avoid the initial pop-up and to fully automate the process, we can use the PowerShell Credentials Object.
It’s important not to include any usernames or passwords in the scripts, so the first step is to select a secure folder to save our username (email) and to read it from there:
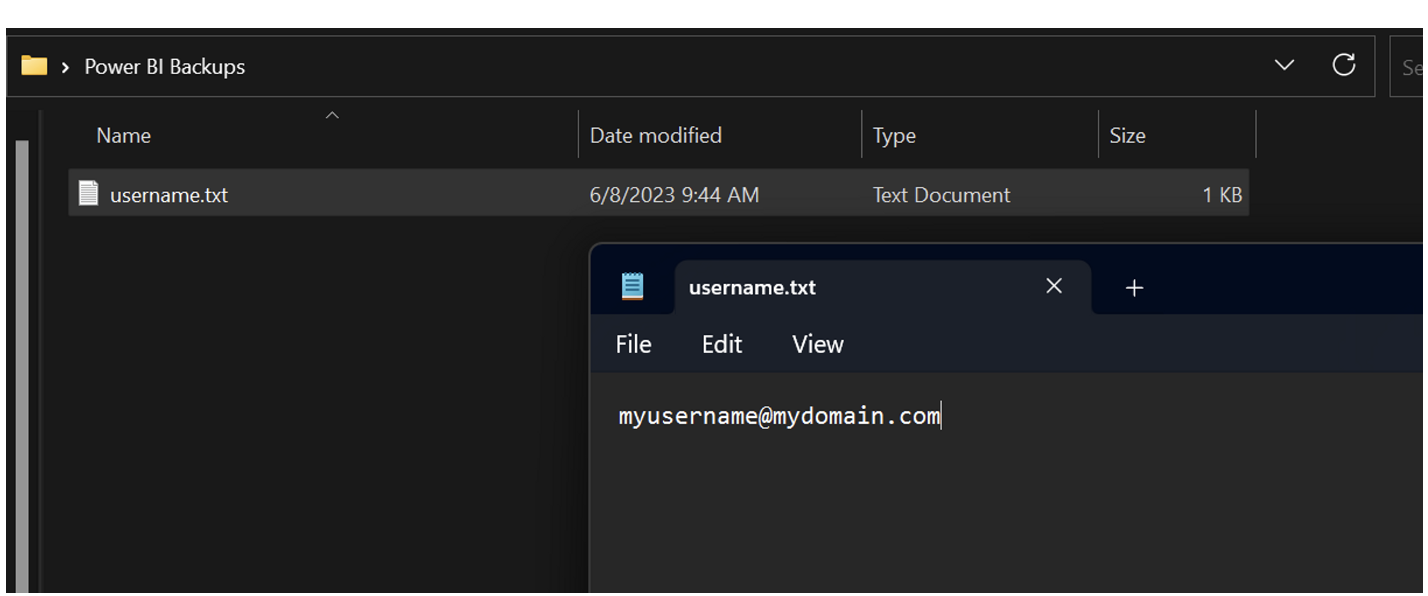
Figure 4: View of the folder accessed by the script and the format example for the username file
Once we’ve got it, we need to capture it in PowerShell using a variable:
$username = Get-Content 'C:\\Users\\MyUserName\\Desktop\\Power BI Backups\\username.txt'
Now it’s time to enter the password, which will be input into a prompt, encrypted, and saved in the same folder as the username. Please note that you should only enter the password the first time you run your script. For subsequent runs, this line is not necessary as the password is already stored, so it can be commented out:
$EnctyptedPassword = Read-Host -AsSecureString | ConvertFrom-SecureString | Out-File 'C:\\Users\\MyUserName\\Desktop\\Power BI Backups\\password.txt'
When running this part of the code, we should see something like this:
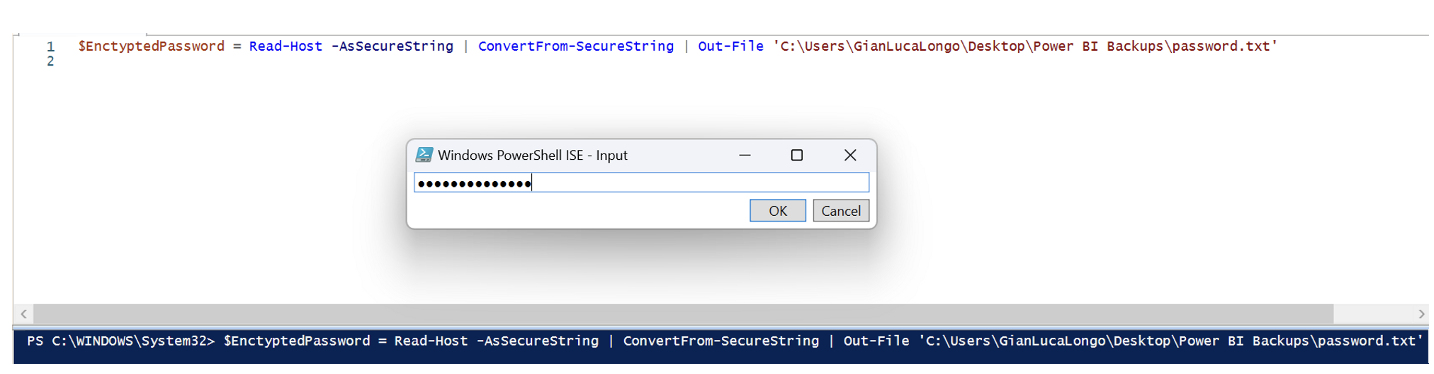
Figure 5: View of the input function to encrypt the password
Once there, PowerShell will automatically create the file in the specified location and encrypt it:
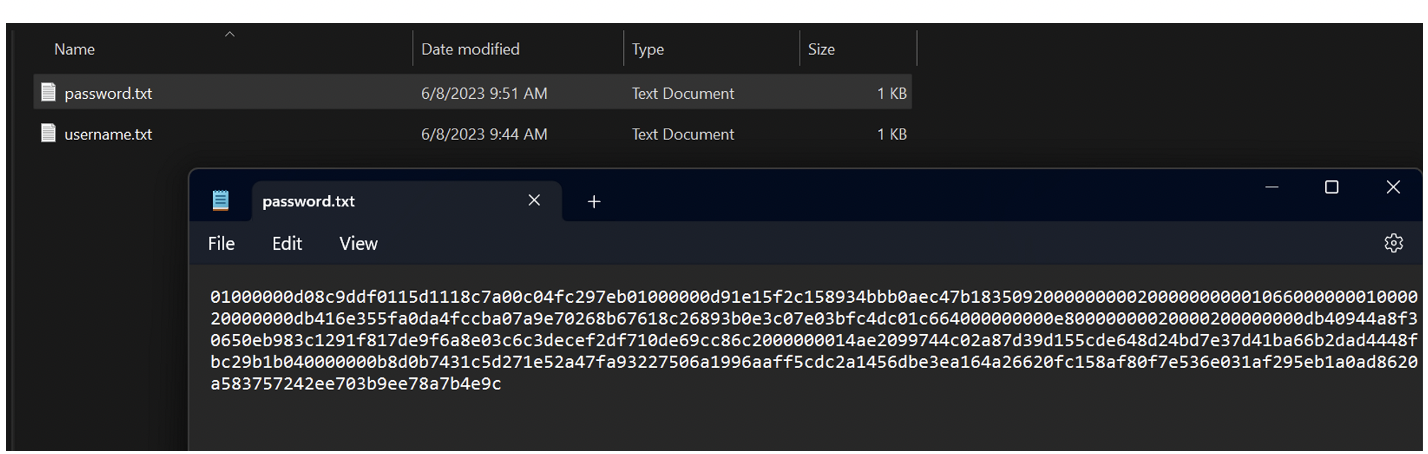
Figure 5.1: View of the folder with both files and an example of the encrypted password
Now that we’ve got our credentials stored in our selected location, we need to retrieve the password and decrypt it, just as we did with the username:
$password = Get-Content 'C:\\Users\\MyUserName\\Desktop\\Power BI Backups\\password.txt' | ConvertTo-SecureString
Once we have captured both the username and the password from our system, it’s time to create the PSCredential object:
$credentials = New-Object -TypeName System.Management.Automation.PSCredential -ArgumentList $username, $password
If we check the $credentials variable, we’ll see something like this:
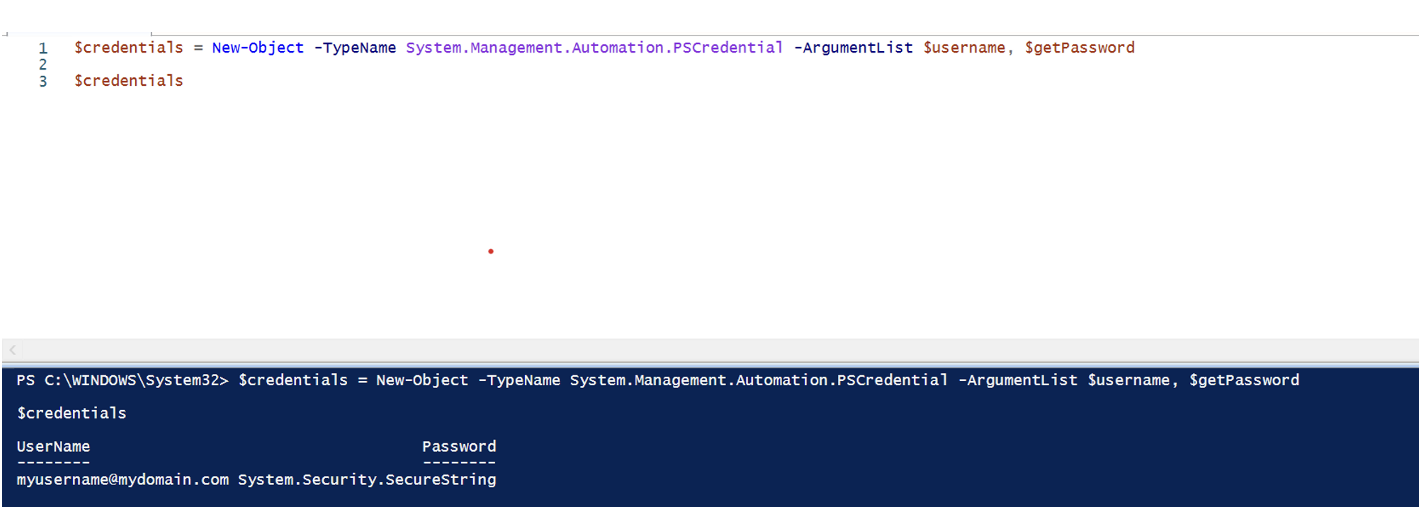
Figure 6: Showing the type of objects generated during the reading process in PowerShell
Finally, we should log into Power BI with this credentials object we’ve obtained:
Connect-PowerBIServiceAccount -Credential $credentials
Scheduling
To schedule the script, we can use Windows Task Scheduler:
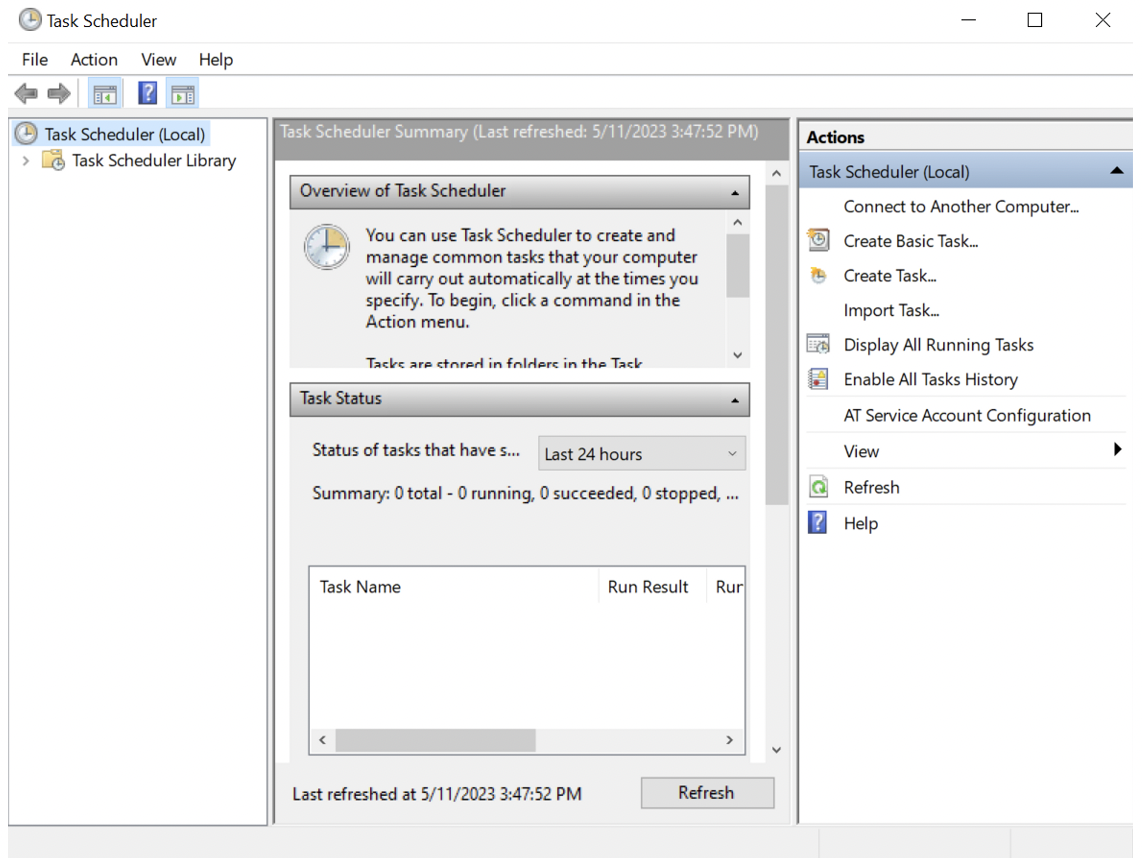
Figure 7: Overview of Windows Task Scheduler
The script can be set up to run at a specific time, such as daily or weekly, and can be configured to send email notifications when the backup is complete.
Limitations
It is important to remember that there are some limitations to this approach:
- Large datasets (Premium only) may not be exportable via PowerShell, nor are they downloadable from the service. However, we can check the state of our report and modify it with another cmdlet, restoring it to its original state after downloading as follows:
if( (Get-PowerBIDataset -Id <#DatasetId#>).actualStorage.StorageMode -eq "PremiumFiles" ){

    Set-PowerBIDataset -Id <#DatasetId#> -TargetStorageMode Abf
    #Export-PowerBIReport...
    Set-PowerBIDataset -Id <#DatasetId#> -TargetStorageMode PremiumFiles

}
elseif( (Get-PowerBIDataset -Id <#DatasetId#>).actualStorage.StorageMode -eq "Abf" ){

    #Export-PowerBIReport...

}
- The report associated with the dataset must remain in place for the backup to be valid. If you have multiple reports live-connected, you’ll back up the report but not the data per se. For this, you must maintain the original report of the dataset.
Despite these limitations, PowerShell scripting is a powerful and flexible tool for backing up Power BI reports.
Conclusion
Having a backup strategy for Power BI reports is crucial to ensure business continuity and data integrity.
PowerShell scripting offers a reliable and automated way to create backups of Power BI reports. With a bit of configuration and monitoring, it can provide peace of mind for organisations that rely on Power BI for their data analysis needs.
This solution could also be used by non-premium license holders, but bear in mind that this approach is only a workaround for something that is not ideal. We strongly recommend prioritising governance best practices, such as limiting access, sharing only the datasets/reports without granting full access to a Power BI workspace, and not granting reshare permissions.
Here at ClearPeaks we’ll carry on exploring ways to keep our reports and workspaces safe and update you with more blog posts! If you’re interested in Power BI and its potential please contact us, and our certified team of experts will be glad to help!