15 Nov 2023 Deploying KNIME Business Hub on an AWS EKS
As KNIME Partners, here at ClearPeaks we have installed a KNIME Business Hub platform on a cloud provider Kubernetes–managed cluster, and today we are going to give you an overview of the main characteristics of this type of installation and its key components. To be more specific, we will tackle the installation of KNIME Business Hub on an Amazon EKS (Elastic Kubernetes Service) Kubernetes cluster.
If you have been using KNIME for a long time, your current installed product will be KNIME Server. You can check out the key differences between KNIME Server and KNIME Business Hub in this comparison matrix.
It’s important to note that in terms of functionality, this deployment will provide the same features as a KNIME Business Hub instance on a single instance. If you are keen to learn more about how to install a KNIME Business Hub instance on a single-node cluster or its basic functionality, please refer to our previous blog post, “An Introduction to KNIME Business Hub”.
Please note that the installation of KNIME Business Hub on customer-provisioned Kubernetes clusters is available exclusively with the Enterprise licence.
KNIME Business Hub on an AWS EKS Cluster
Most of our customers embark on their KNIME journey by developing workflows with the KNIME Analytics Platform on their laptops. Once the first results have been generated and the business teams have seen the positive impact of advanced analytics, it becomes necessary to set up a server infrastructure to handle all processing tasks and also enable multiple users, including data engineers and data scientists, to collaborate effectively. At this stage, running KNIME on a single-node instance may offer a favourable balance between cost and reliability. While there might be occasional missed executions due to infrastructure glitches or processing delays, consistent results can still be achieved.
However, as reliance on KNIME and the predictions generated by data models grows within the company, business teams begin to demand higher Service Level Agreements (SLAs) from the platform. This is the moment to consider transitioning to a production-ready KNIME environment and deploying KNIME Business Hub on a customer-provisioned Kubernetes cluster. Within this production-ready environment, the KNIME platform is well-equipped to meet operational demands, like managing heavy workloads and network throughput, ensuring high platform availability and scalability, as well as facilitating software maintenance.
Now let’s look at the Amazon EKS service, which will host the KNIME platform. EKS is the managed Kubernetes service provided by AWS, designed to manage the availability and scalability of the Kubernetes cluster control plane within the cloud. If your cloud provider is not AWS, you also have alternatives such as Azure AKS (Azure Kubernetes Service) or OpenShift.
Before installing the KNIME software, specific AWS infrastructure needs to be provisioned, which primarily consists of two resources:
- Amazon EKS cluster: The Kubernetes cluster control plane, deployed with three add-ons: “kube-proxy”, “coreDNS”, and “Amazon VPC CNI”, which enable networking and name resolution within the cluster. The “Amazon EKS CSI Driver” add-on is also installed, enabling the usage of the AWS EBS service within the cluster. This add-on is used especially by the MinIO microservice.
- Amazon EKS node group: A set of EC2 instances that provide compute capacity to an EKS cluster. In our scenario, two c4.4xlarge instances, each with 16 vCPUs and 30 GB of RAM, have been deployed. The number of instances and their capacity will depend on your specific use case requirements.
Of course, there are some other essential AWS resources that you’ll need:
- AWS VPC and Subnets: A VPC and a set of public and private subnets are required to facilitate communication among the cluster nodes and also to enable external communication, like with KNIME Analytics Platform applications running on user laptops.
- AWS IAM Roles: You’ll need to create a set of IAM roles and policies; a comprehensive list of permissions can be found in the KNIME reference documentation.
Auxiliary Software
To successfully deploy and manage the AWS EKS cluster, you should install the following tools:
- OpenLens: Software to manage Kubernetes clusters, helping with maintenance tasks, troubleshooting, and configuration tuning.
- AWS CLI: The AWS Command Line Interface. The aforementioned AWS resources can be created via the AWS Management Console, the AWS CLI, or even an IaC protocol such as CloudFormation or Terraform. Please note that the AWS CLI is invaluable for setting up the kubectl configuration file.
- KubeCTL: A command line tool to communicate with a Kubernetes cluster. It’s also necessary to install and manage the KNIME platform within the cluster.
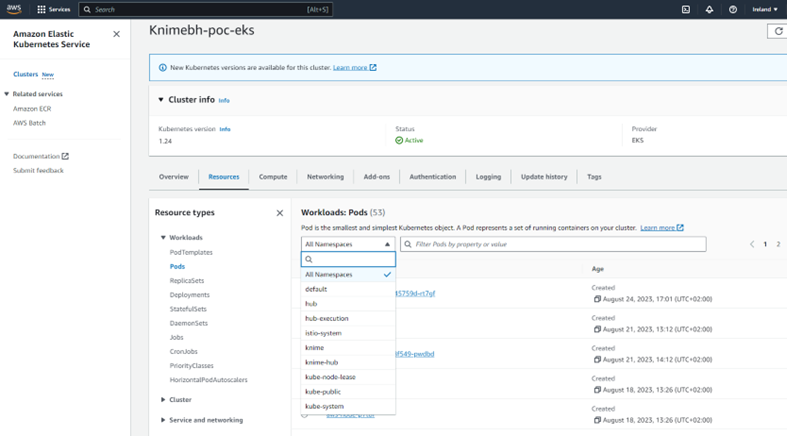
The image below shows the final state of an Amazon EKS cluster, with various namespaces that include both the default set and those specifically created for the KNIME installation:
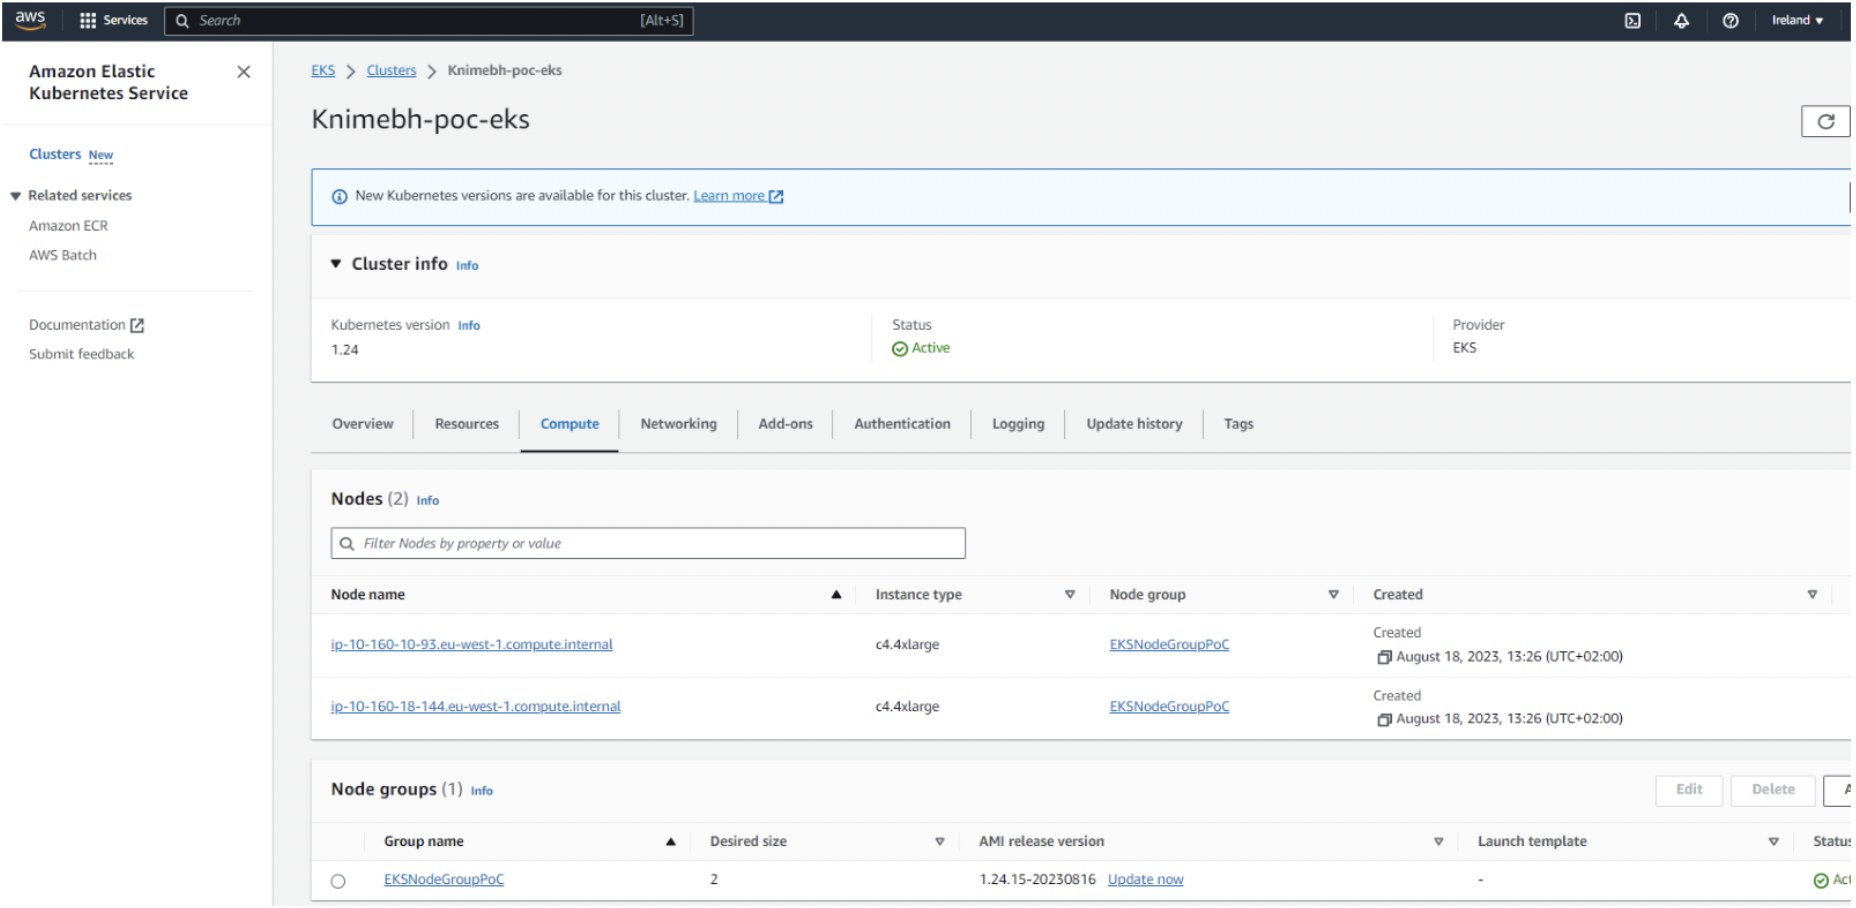
The next image shows the Amazon EKS node groups associated with the Amazon EKS cluster:
KNIME Business Hub Installation
Before deploying the KNIME application, it is recommended to set up a connection to the AWS EKS cluster through kubectl. To facilitate this, the AWS CLI offers a command to generate the kubectl configuration:
aws eks --region your-aws-region update-kubeconfig --name Knimebh-poc-eks
KNIME has partnered with Replicated to create a distribution that simplifies the installation of KNIME Business Hub. To install KNIME Business Hub on a single-node instance we needed the Replicated kURL to provision a Kubernetes cluster. Now that the Kubernetes cluster is provisioned by us, we need to install the Replicated KOTS plugin:
curl https://kots.io/install | bash
Once KOTS is ready, we can start the deployment of the KNIME Business Hub application:
kubectl kots install knime-hub
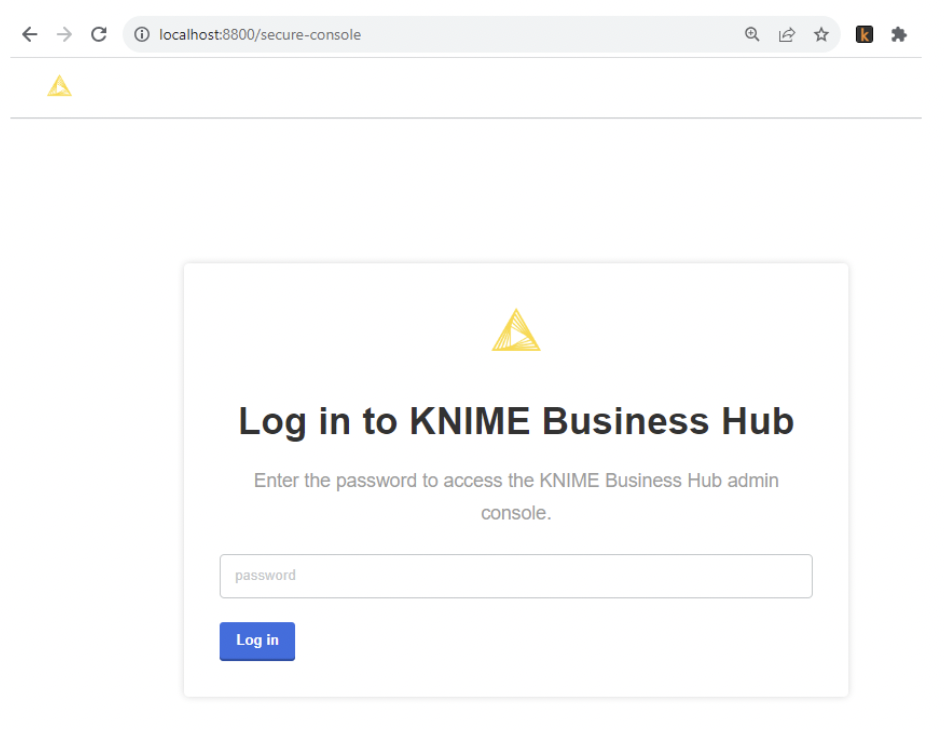
Once the process is complete, you can access the KOTS admin console to configure and finalise the deployment. A port forwarding is necessary to access the KOTS admin console:
kubectl -n knime-hub port-forward service/kotsadm 8800:3000
The configuration process is very similar to the single-node instance documented by KNIME. In the Networking section, select the creation of an external Load Balancer. The installation process will automatically set up an AWS Classic Load Balancer. Once the deployment is finished, the status will read “Ready”:
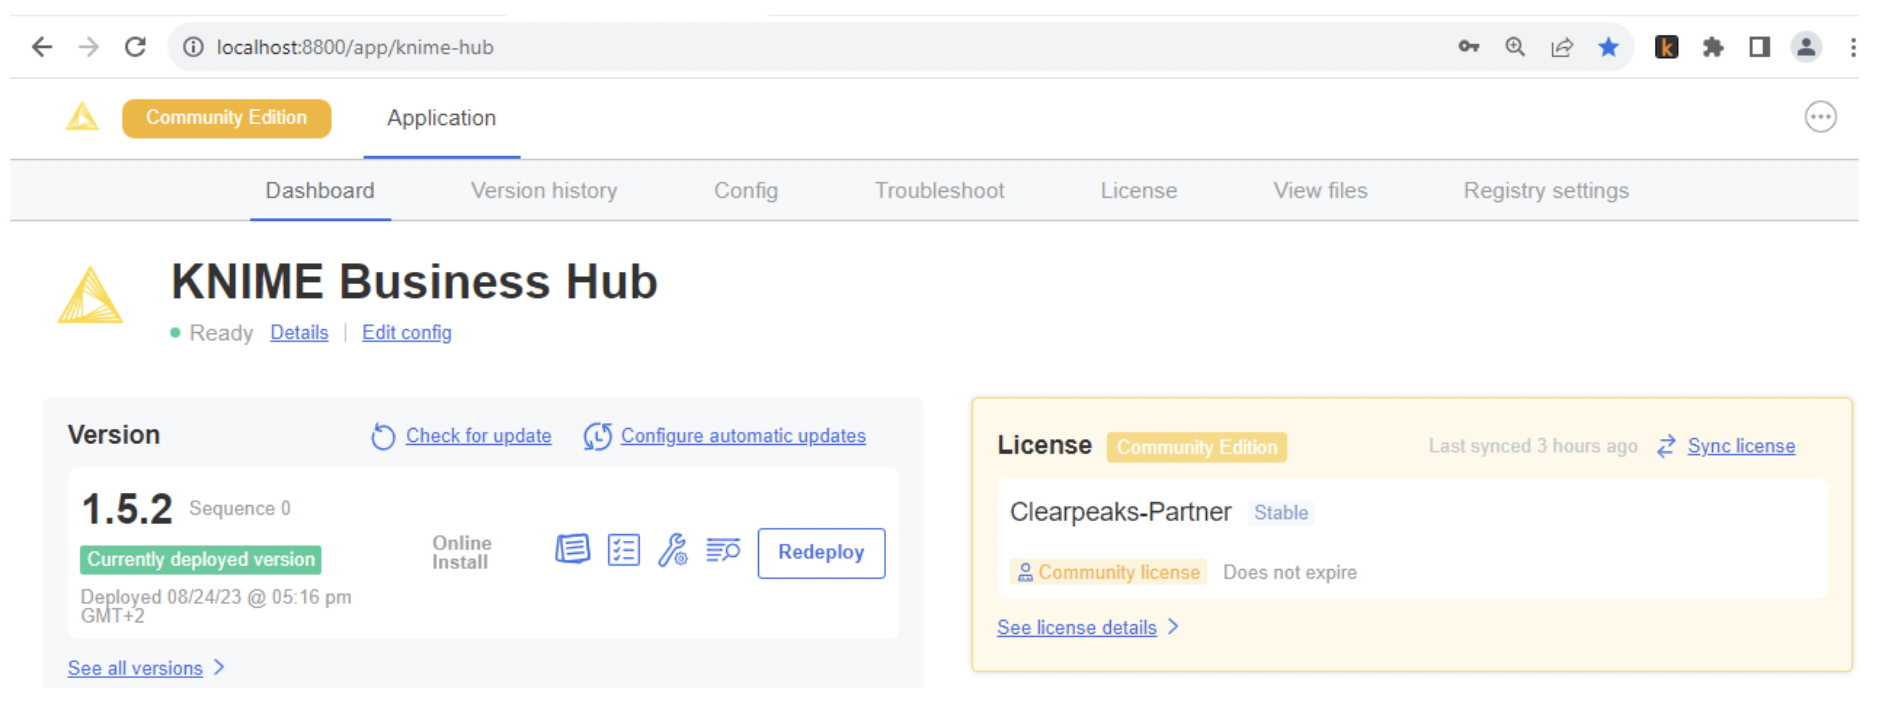
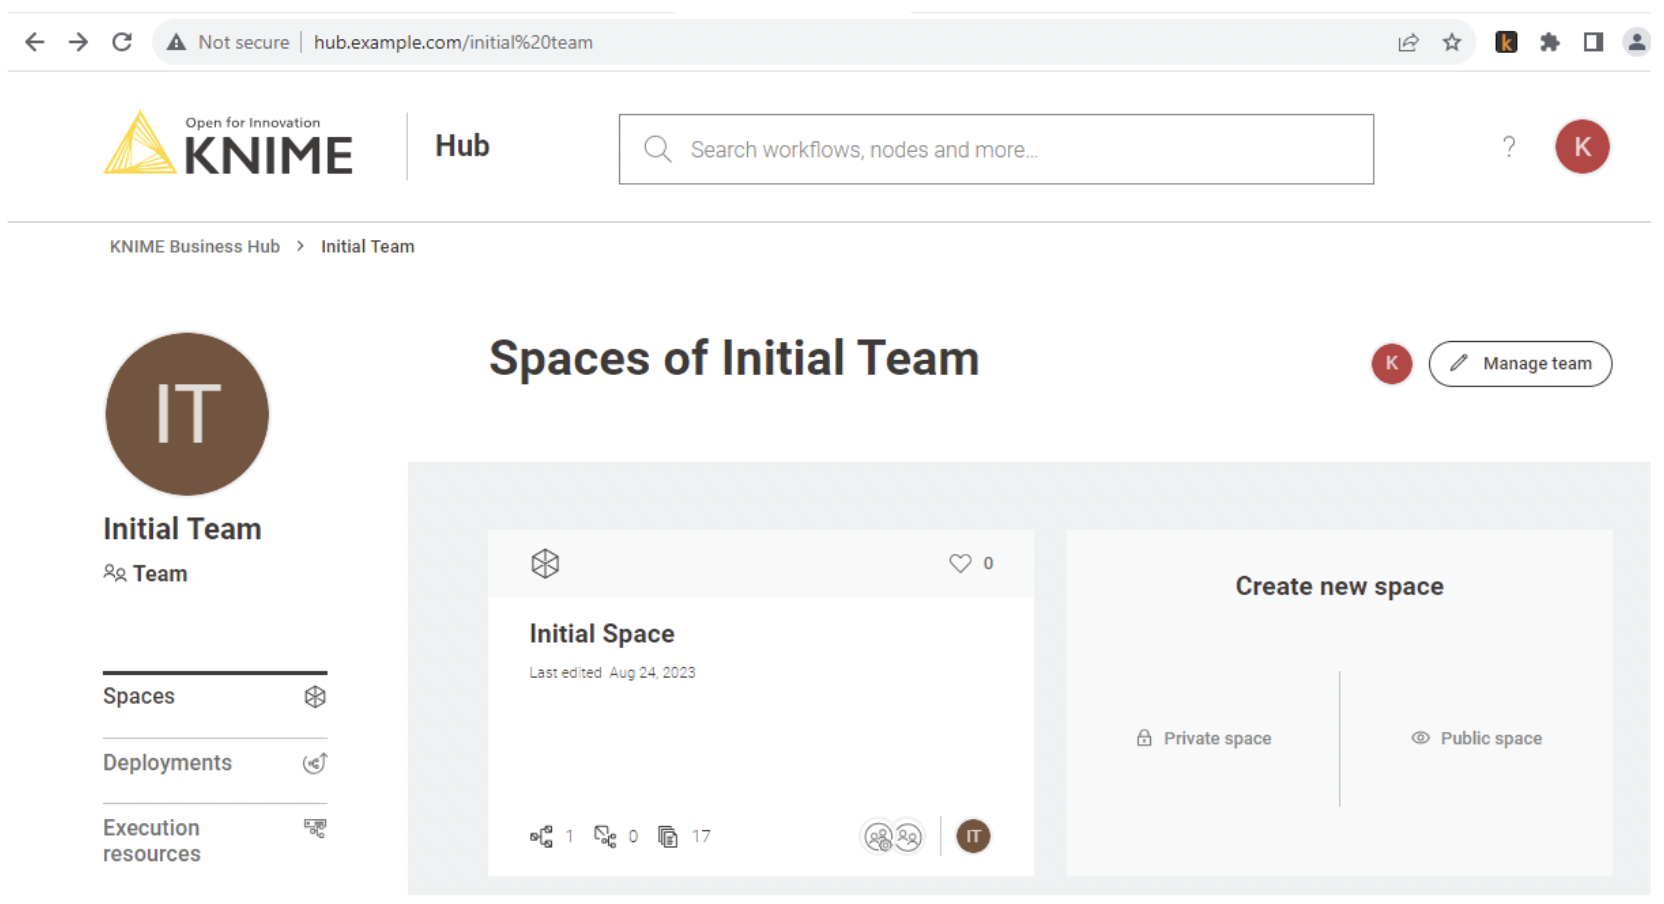
You can then access KNIME Business Hub using the previously defined Base URL. In this scenario we use the example.com domain, which is resolved locally on our laptops through the etc/hosts file:
Conclusion
We’ve presented a novel deployment option for KNIME Business Hub: running it on a customer-provisioned Kubernetes cluster. As we’ve outlined, this approach offers multiple advantages for the KNIME instance, but remember that it requires expert knowledge to effectively size, set up, scale, secure, and maintain the AWS infrastructure.
Here at ClearPeaks we have a great team of certified, experienced professionals, ready to help with all the phases of a KNIME platform deployment, as well as with KNIME workflow development. Don’t hesitate to get in touch!