29 Nov 2023 Row Level Security (RLS) and Object Level Security (OLS) in Power BI
Power BI offers two primary methods for controlling user access to data, which is vital for data security:
- Role Level Security (RLS): This Power BI feature restricts data access at the record level based on user roles.
- Object Level Security (OLS): This feature limits access to specific objects (columns or tables) in a Power BI dataset according to user roles.
Let’s explore these concepts and run through some examples of how to apply them in Power BI.
Row Level Security
Row Level Security effectively filters data visibility in a table based on user roles. For example, a role may allow employees to only view data related to their department.
To implement RLS in Power BI, follow these steps:
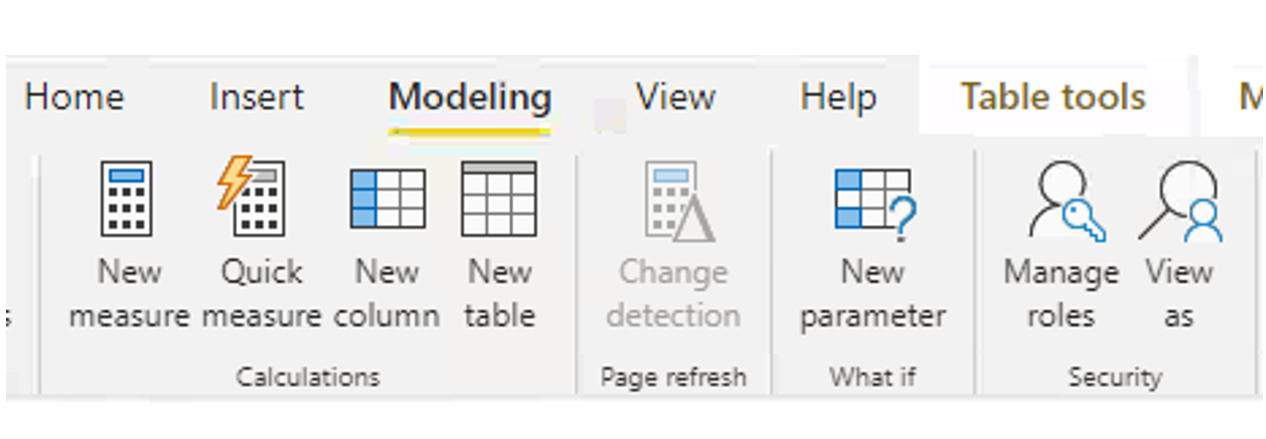
- In Power BI Desktop, go to Modeling -> Security -> Manage Roles:

Figure 1: Navigate to Manage Roles.
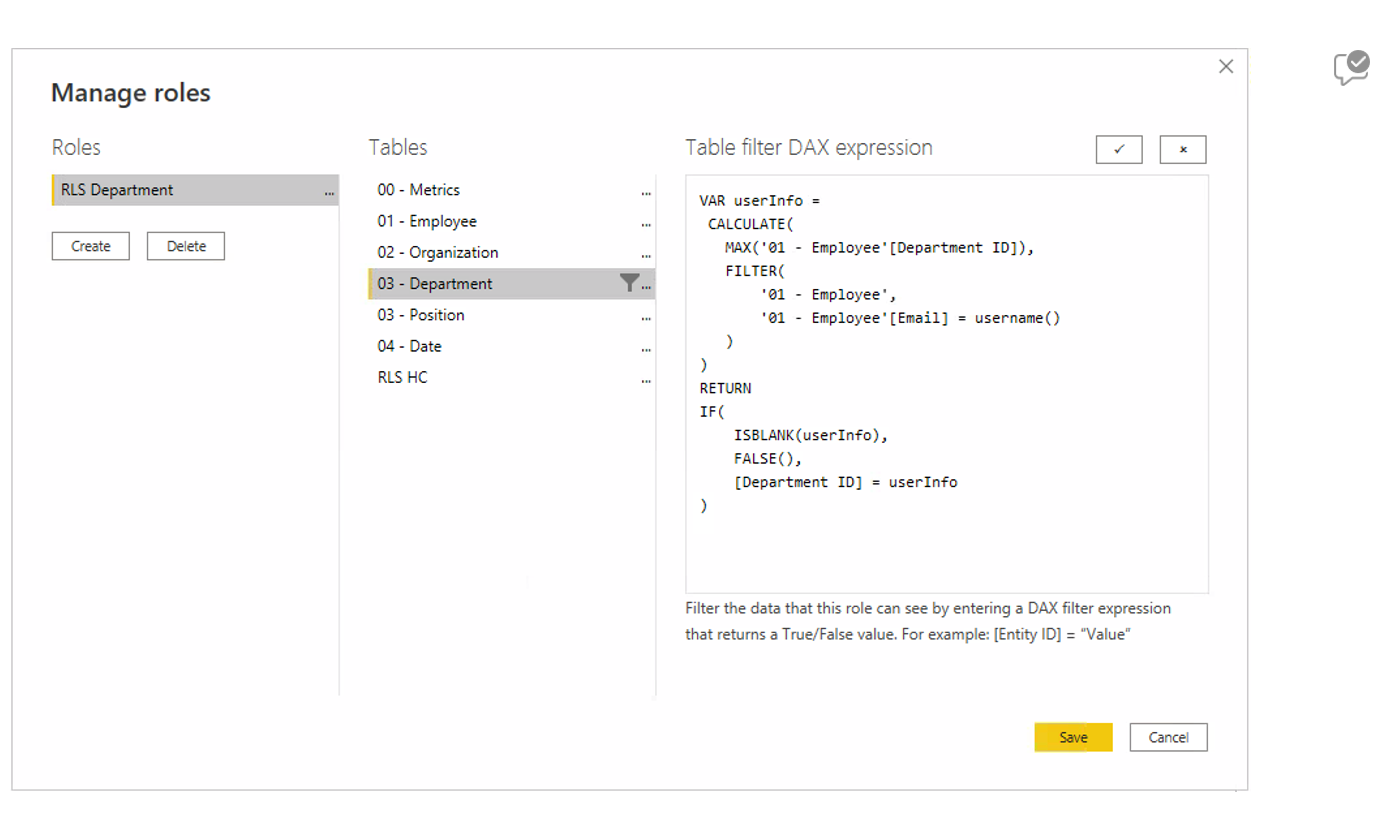
- Create a new role and name it (for example, RLS Department).
- Define a DAX expression for row filtering. The USERNAME() function can identify a user’s Department ID from their email, filtering data accordingly. In our example below, the system extracts the Department ID of the user who is accessing the report, based on their email. It then filters the rows that correspond to the Department ID:

Figure 2: Generate DAX expression.
- Once the dataset has been uploaded to Power BI Service, navigate to Security and assign users to roles.
Finally, once we have applied the role, we can navigate through the report or dashboard to see how the data is filtered based on the RLS settings. We can use the View as Roles feature to test different roles and to ensure that our settings are working as required. This is a useful tool for troubleshooting and validating the security settings before deploying a report or dataset to users.

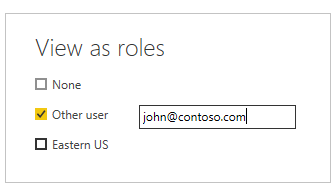
Figure 3: RLS Applied.
The images below show the “before and after” when applying RLS to a Human Resources employee:
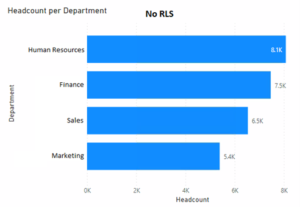
Figure 4: RLS Not Applied.
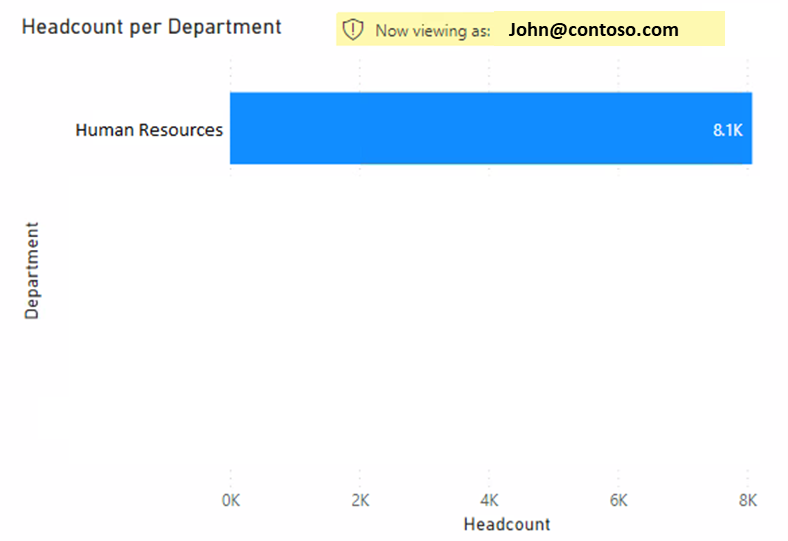
Figure 5: RLS Applied.
Object Level Security
Object Level Security allows the concealment of columns or entire tables in a dataset depending on the role of the user. If the user is accessing a report with charts that contain restricted columns, the charts will not be displayed. OLS is often used to hide sensitive information such as employee salaries, performance evaluations, etc.
Note that OLS is not a built-in Power BI feature, and its implementation needs Tabular Editor.
Here is how we can implement OLS in Power BI using Tabular Editor:
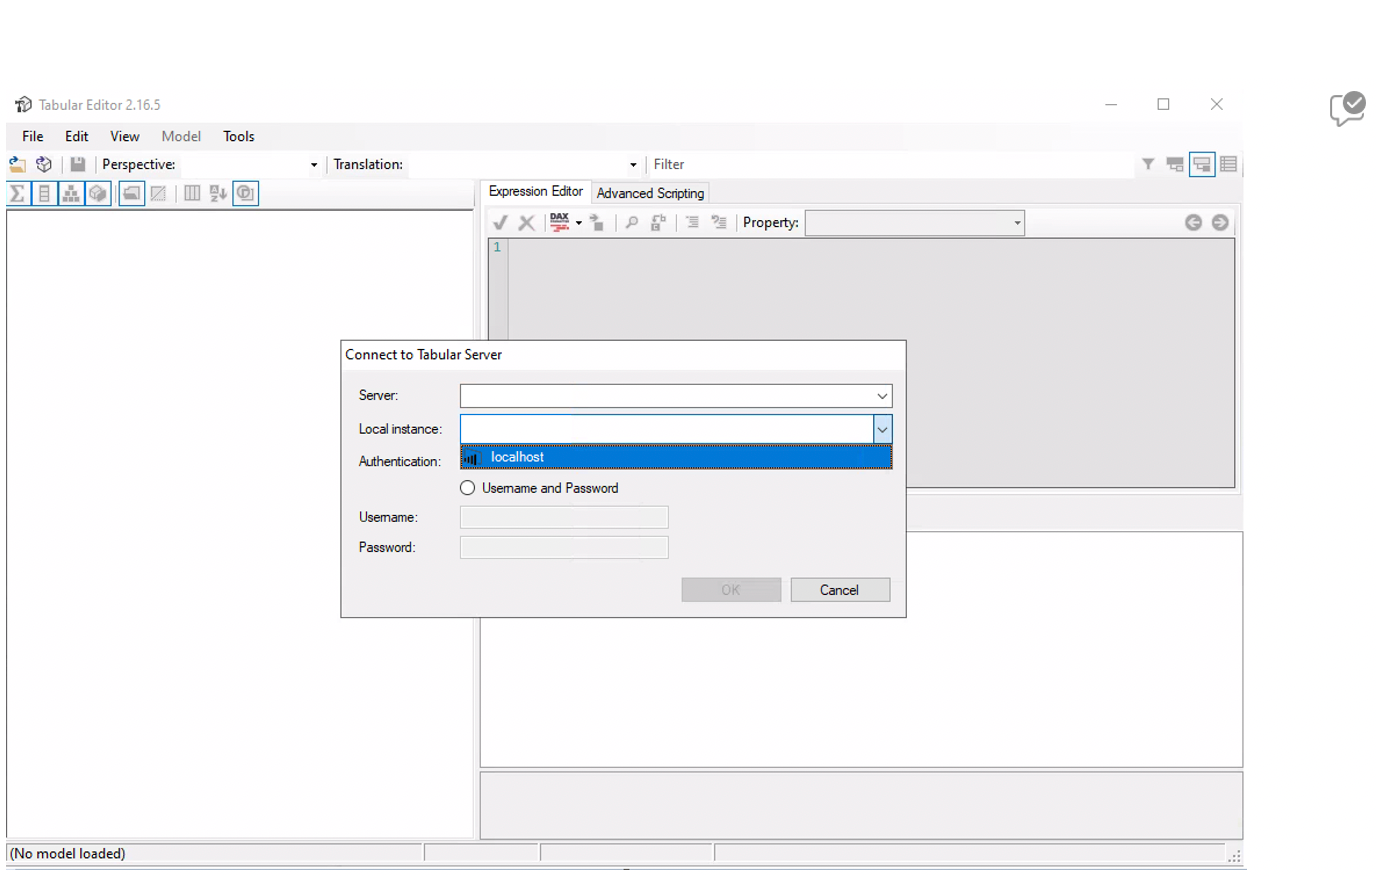
- Open the Power BI model in Tabular Editor:

Figure 6: Connection in Tabular Editor.
- If you need to create a new role, go to Roles -> New Role as explained in the first point of the RLS section.
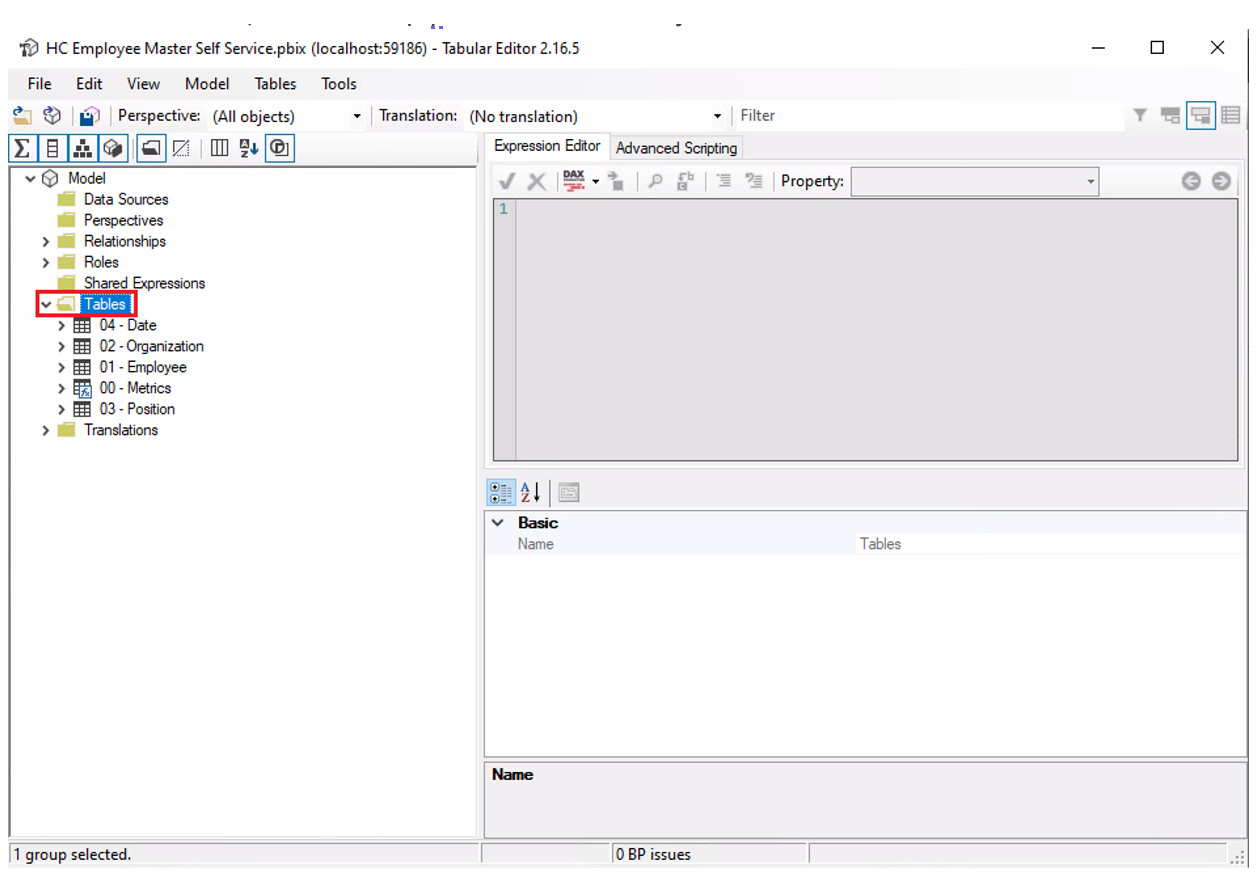
- In the left menu, the table(s) or columns subject to OLS can be selected:

Figure 7: Selection of the table(s) to apply OLS.
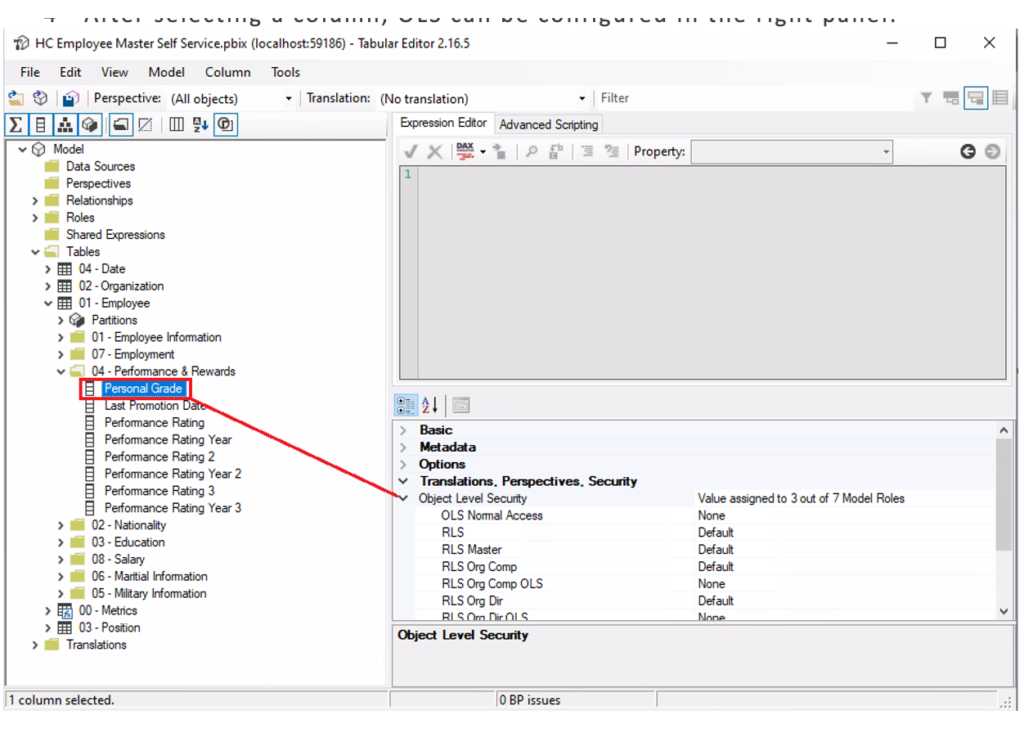
- After selecting a column, OLS can be configured in the right panel:

Figure 8: Selection of the field to apply OLS in Tabular Editor.
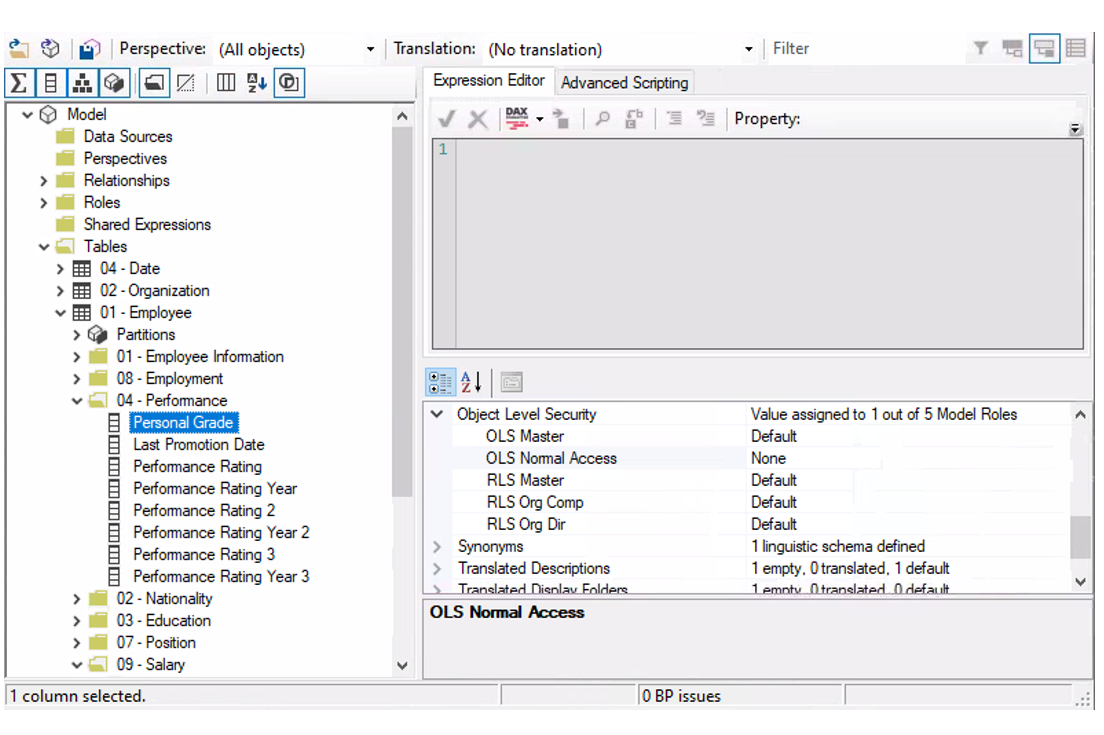
- To hide the element, change the values from Default to None for the specific role. In the example below, the OLS Normal Access role will not be able to see the Personal Grade column:

Figure 9: Restrict column visibility in Tabular Editor.
To test the OLS setup, use the View As function as in RLS.
This example shows OLS being applied to the 04- Performance & Rewards and 08- Salary tables:
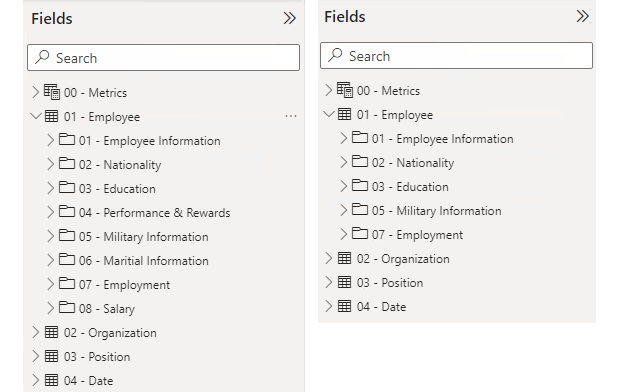
Figure 10: In the left image OLS is not applied, whilst in the right one it is.
Sharing the Dataset or Report
Once we have applied our security to a dataset or report, we need to consider how to share it with other users. There are 2 main approaches to sharing:
- Grant Access to the Workspace
With this method, we need to determine the type of access we wish to grant to the user (Admin, Member, Contributor, or Viewer). Admins, Members, and Contributors are not affected by RLS/OLS configurations, so if we want the user to be subject to the RLS/OLS setup, they must be designated as a Viewer. However, bear in mind that a Viewer cannot create new reports; they will only be able to access existing ones:
Figure 11: How to navigate to Security and Manage permissions.

Figure 12: Security view from the service.
- Sharing the Dataset or Report
With this option, the users will have direct access to the dataset or report without having access to the workspace. The dataset or report will be accessible from the Data Hub tab in the left side menu of Power BI Service. With this option, users can create new reports, subject to the security setup:

Figure 13: Manage permissions menu.
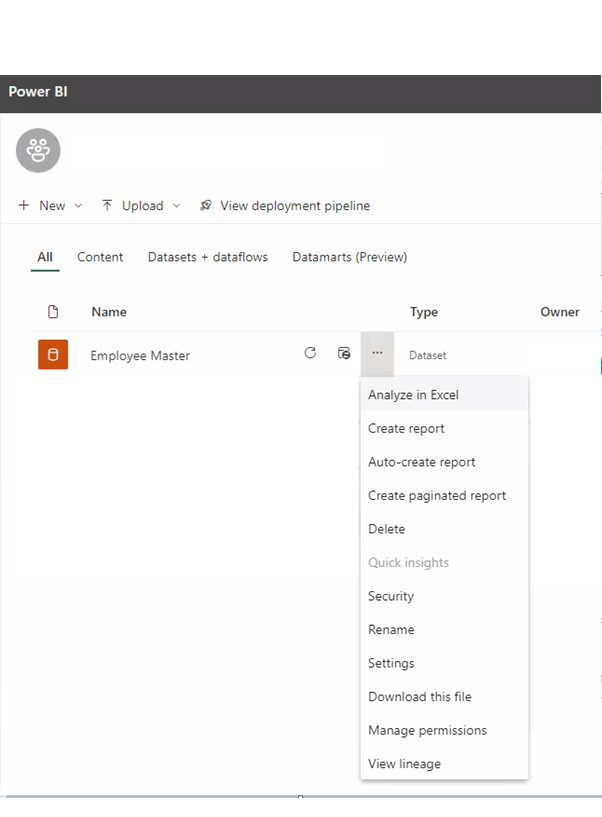
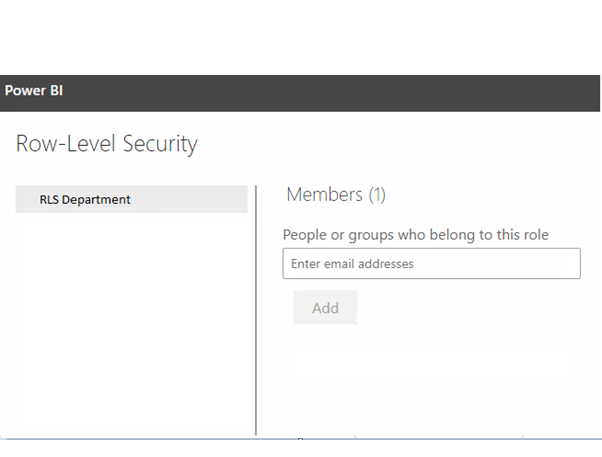
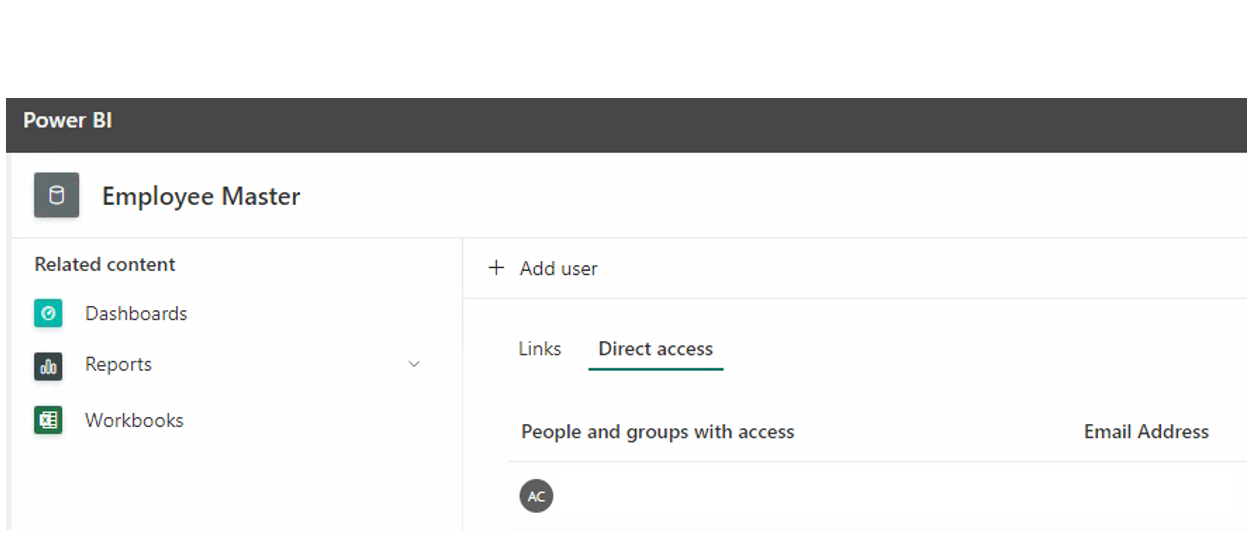

Figure 14: Allowing users to create their own reports on top of a dataset with RLS and OLS.
Conclusion
These two methods provided by Power BI for Data Security (Row Level Security and Object Level Security) offer a robust layer of security to enforce data access policies in organisations. The combination of both options is possible using external tools and can meet company needs in a straightforward yet powerful way, allowing businesses to share data for self-service reporting without putting data governance at risk.
If you want to know more about security in Power BI, or Power BI in general, don’t hesitate to reach out to our experts!